How to Master the Art of Cooking Chickpeas: A Culinary Guide

Chickpeas, also known as garbanzo beans, are culinary chameleons. Their mild, nutty flavor and adaptable texture make them an ideal ingredient for a vast array of dishes, from hearty stews to vibrant salads. This guide will provide you with the foundational knowledge and techniques to confidently incorporate chickpeas into your everyday cooking.
Whether you're aiming for a creamy hummus, a crispy roasted snack, or a flavorful addition to your favorite curry, understanding the nuances of cooking chickpeas will unlock their full potential and elevate your meals. We'll explore the versatility of this humble legume and provide you with the tools to master it.
Understanding Chickpeas: Your Guide to Varieties and Selection
Chickpeas come in two main varieties: Desi and Kabuli. Desi chickpeas are smaller and darker, with a slightly rougher coat. Kabuli chickpeas, the most common type in North America, are larger, rounder, and have a smoother, lighter-colored coat. For most recipes, Kabuli chickpeas are preferred due to their creamy texture when cooked.
When buying chickpeas, you have the option of purchasing them dried or canned. Dried chickpeas offer superior flavor and texture, but require soaking and longer cooking times. Canned chickpeas are a convenient option for quick meals, but it's important to rinse them thoroughly to remove excess sodium. Look for canned chickpeas that are low in sodium or have no salt added. Whether canned or dried, ensure your chickpeas are uniform in color and size for even cooking.
Why Cook with Chickpeas?
- Versatility: From salads to soups to dips, chickpeas adapt to countless cuisines and preparations.
- Flavor Absorption: Their mild flavor profile makes them perfect for absorbing bold spices and seasonings.
- Convenience: Canned chickpeas are ready to use, while dried chickpeas offer a budget-friendly pantry staple.
Preparation (Mise en Place)
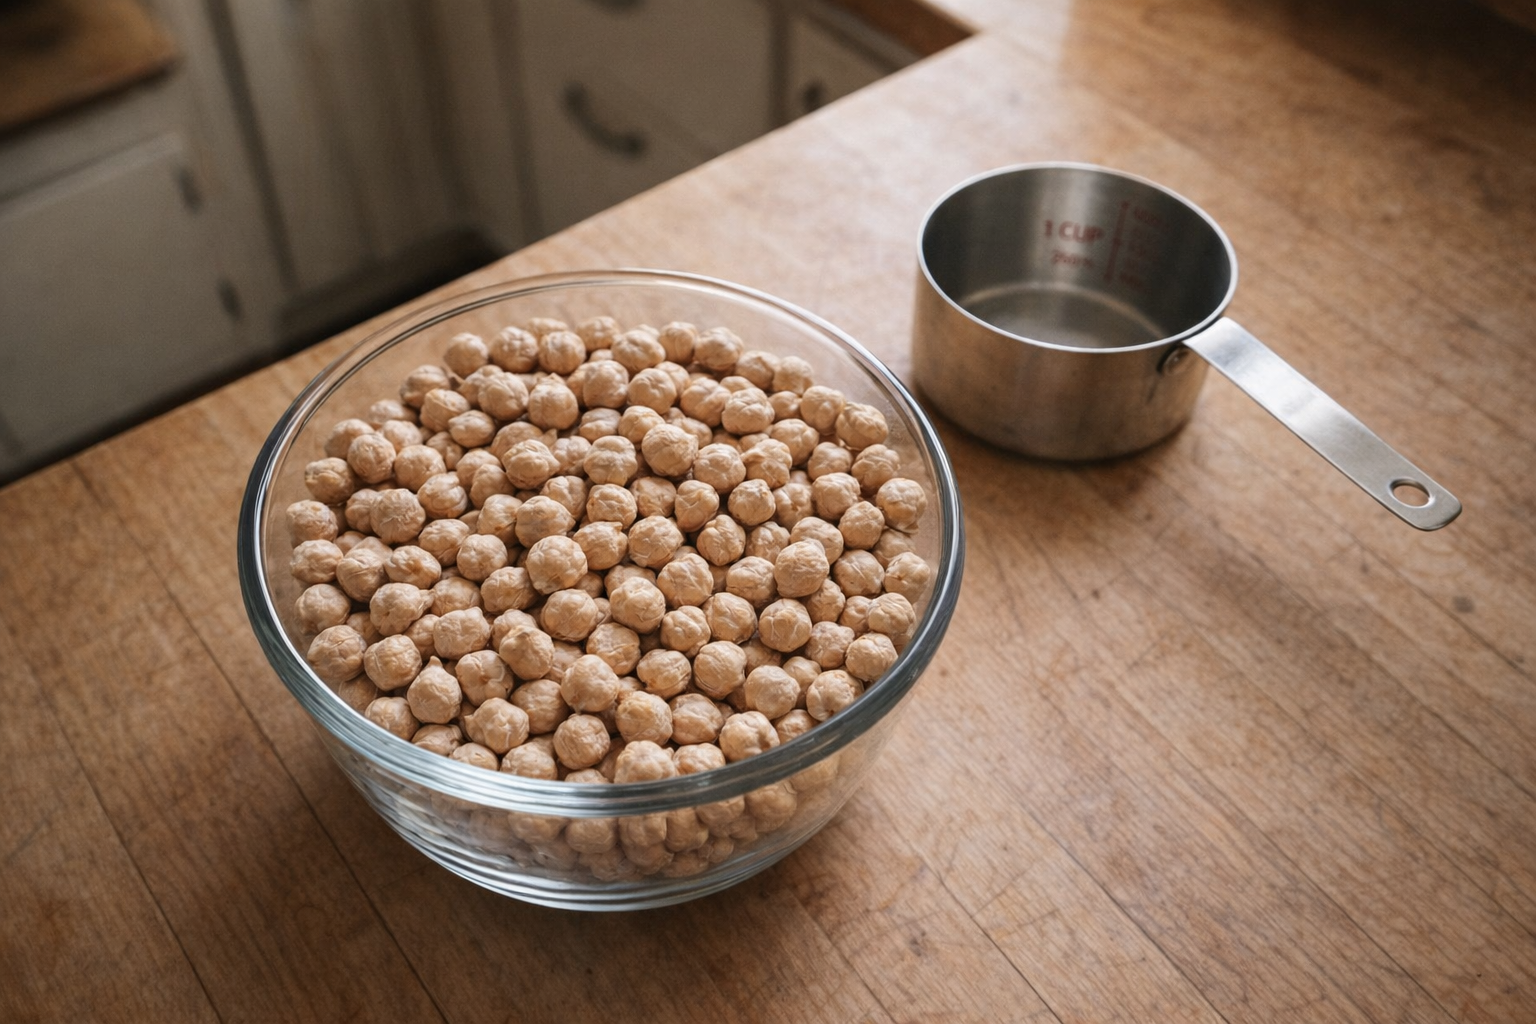
For dried chickpeas, start by sorting through them, removing any debris or damaged beans. Rinse them thoroughly under cold water. Next, you need to soak them. There are two main soaking methods:
- Overnight Soak: Place the chickpeas in a large bowl and cover with plenty of cold water (at least 3 times the volume of the chickpeas). Let them soak for at least 8 hours or overnight.
- Quick Soak: Place the chickpeas in a large pot and cover with plenty of cold water. Bring to a boil, then simmer for 2 minutes. Remove from heat, cover, and let stand for 1 hour.
Essential Tools
- Large Bowl or Pot: For soaking and cooking the chickpeas. A heavy-bottomed pot will ensure even cooking.
- Colander: For draining and rinsing the chickpeas.
- Measuring Cups/Spoons: For accurate ingredient measurements.
The Cooking Method(s):
While the source provides a list of chickpea recipes, let's focus on the fundamental method: Cooking dried chickpeas from scratch. This unlocks the most flavor and control over the final product.
H2: Cooking Dried Chickpeas on the Stovetop
Ingredients:
- 1 cup (200g) dried chickpeas, soaked
- 6 cups (1.4 liters) water or vegetable broth
- 1 teaspoon salt (or to taste)
- Optional: 1 bay leaf, 1 clove garlic (for added flavor)
- Combine Ingredients: In a large, heavy-bottomed pot, combine the soaked and drained chickpeas with the water or vegetable broth. Add salt, bay leaf, and garlic (if using).
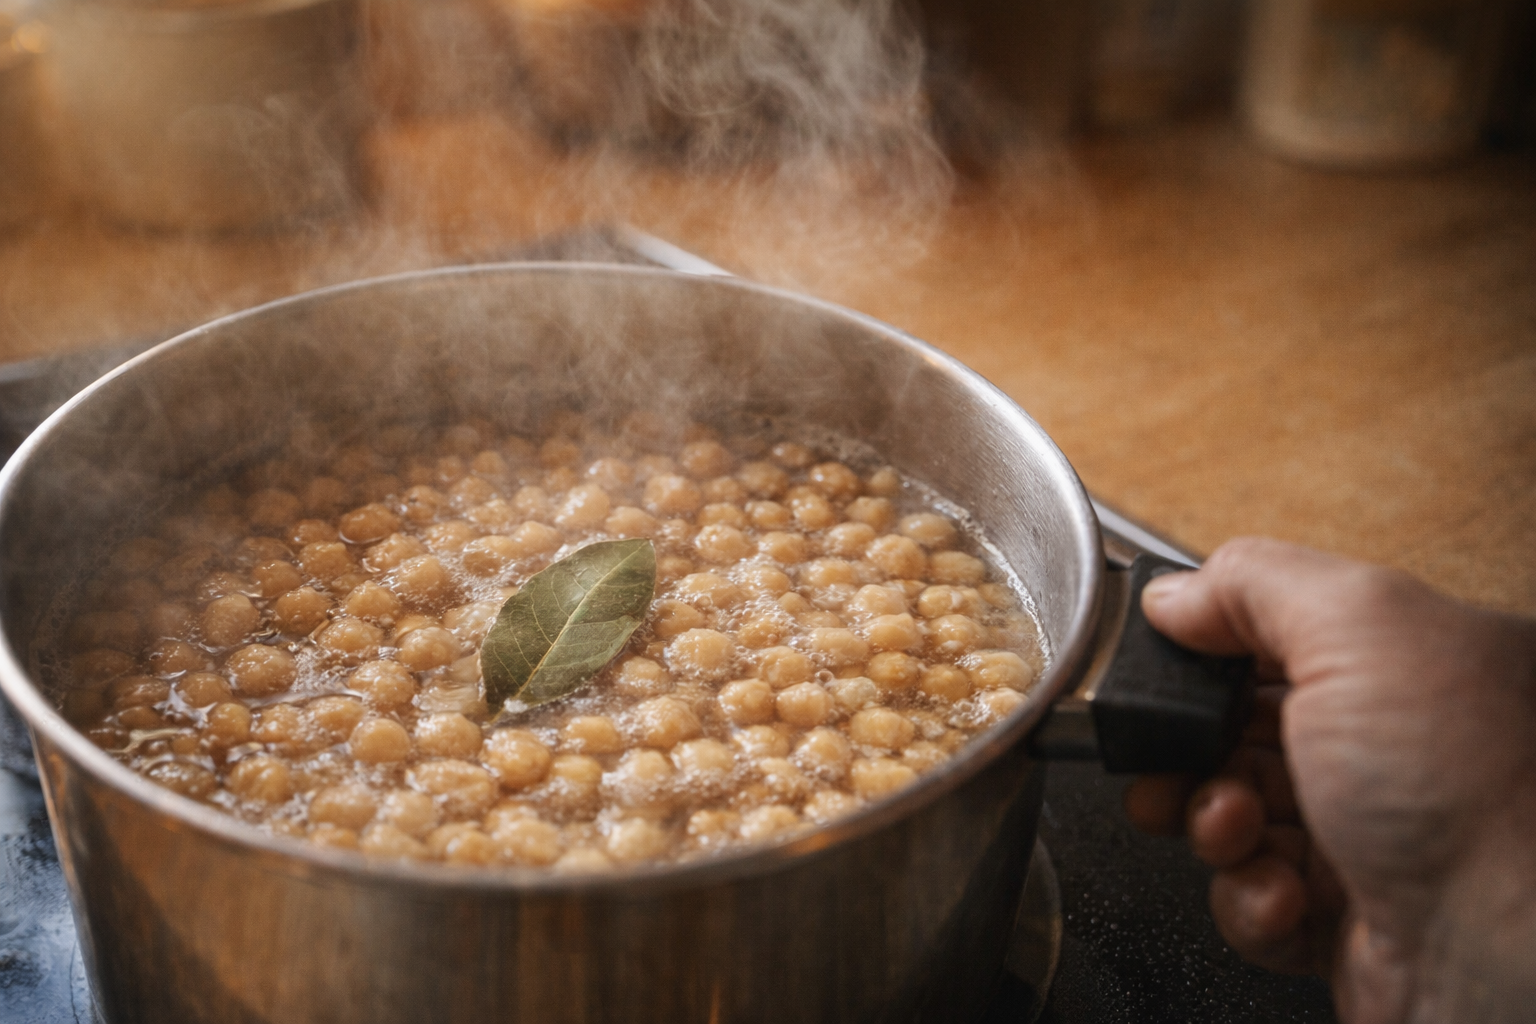
- Bring to a Boil: Bring the mixture to a rolling boil over high heat. You'll hear the water begin to bubble vigorously.
- Simmer: Reduce the heat to low, cover the pot, and simmer gently for 1-1.5 hours, or until the chickpeas are tender. Check the water level periodically and add more if needed to keep the chickpeas submerged. As they cook, you'll notice the chickpeas plumping up and becoming more tender. The aroma will become earthy and inviting.
- Test for Doneness: To test for doneness, remove a chickpea and gently squeeze it. It should be easily mashed between your fingers. Alternatively, taste a chickpea – it should be tender and creamy, not hard or chalky.
- Drain (Optional): If you are using the chickpeas immediately, drain them in a colander. Reserve the cooking liquid, as it can be used in soups or sauces. If you are storing the chickpeas, let them cool in the cooking liquid to prevent them from drying out.
Cooking Time & Doneness Guide
- Cooking Time: 1-1.5 hours (after soaking)
- Internal Temperature: Not applicable (we're looking for texture)
Visual Cues
The chickpeas should be significantly larger and plumper than their dried state. They should easily mash between your fingers or with a fork.
Tips for Perfection
- Don't Add Salt Too Early: Adding salt at the beginning of the cooking process can toughen the chickpeas. Add it about halfway through, or even towards the end.
- Use Enough Liquid: Make sure the chickpeas are fully submerged in water or broth during cooking to ensure even cooking.
- Skim Off Any Foam: As the chickpeas cook, a foamy substance may rise to the surface. Skim this off with a spoon for a clearer cooking liquid.
- Don't Overcook: Overcooked chickpeas can become mushy. Check for doneness frequently after the first hour of cooking.
Storage & Reheating
- Storage: Cooked chickpeas can be stored in an airtight container in the refrigerator for up to 5 days. They can also be frozen for up to 3 months. Freeze in a single layer on a baking sheet before transferring to a freezer bag for easy portioning.
- Reheating: Reheat refrigerated chickpeas in a saucepan over medium heat, adding a little water or broth if needed to prevent them from drying out. Frozen chickpeas can be thawed in the refrigerator overnight or reheated directly from frozen in a saucepan.
Serving Suggestions
- Hummus: Blend cooked chickpeas with tahini, lemon juice, garlic, and olive oil for a classic Middle Eastern dip.
- Roasted Chickpeas: Toss cooked chickpeas with olive oil and your favorite spices, then roast in the oven until crispy.
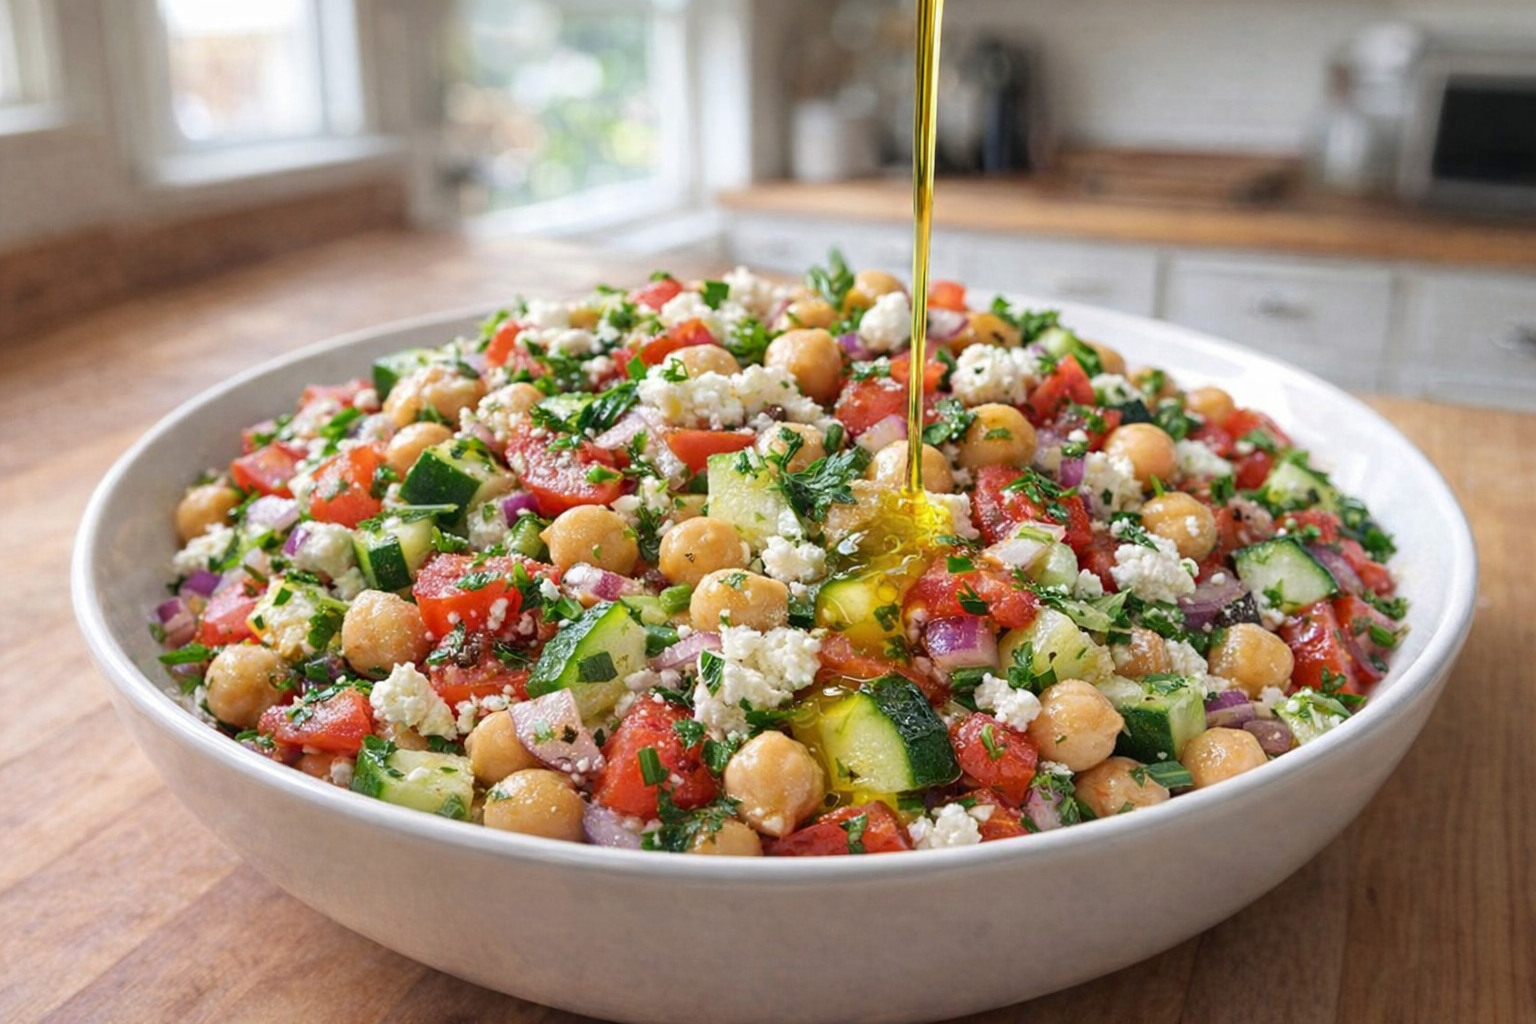
- Chickpea Salad: Combine cooked chickpeas with chopped vegetables, herbs, and a vinaigrette dressing for a light and refreshing salad.
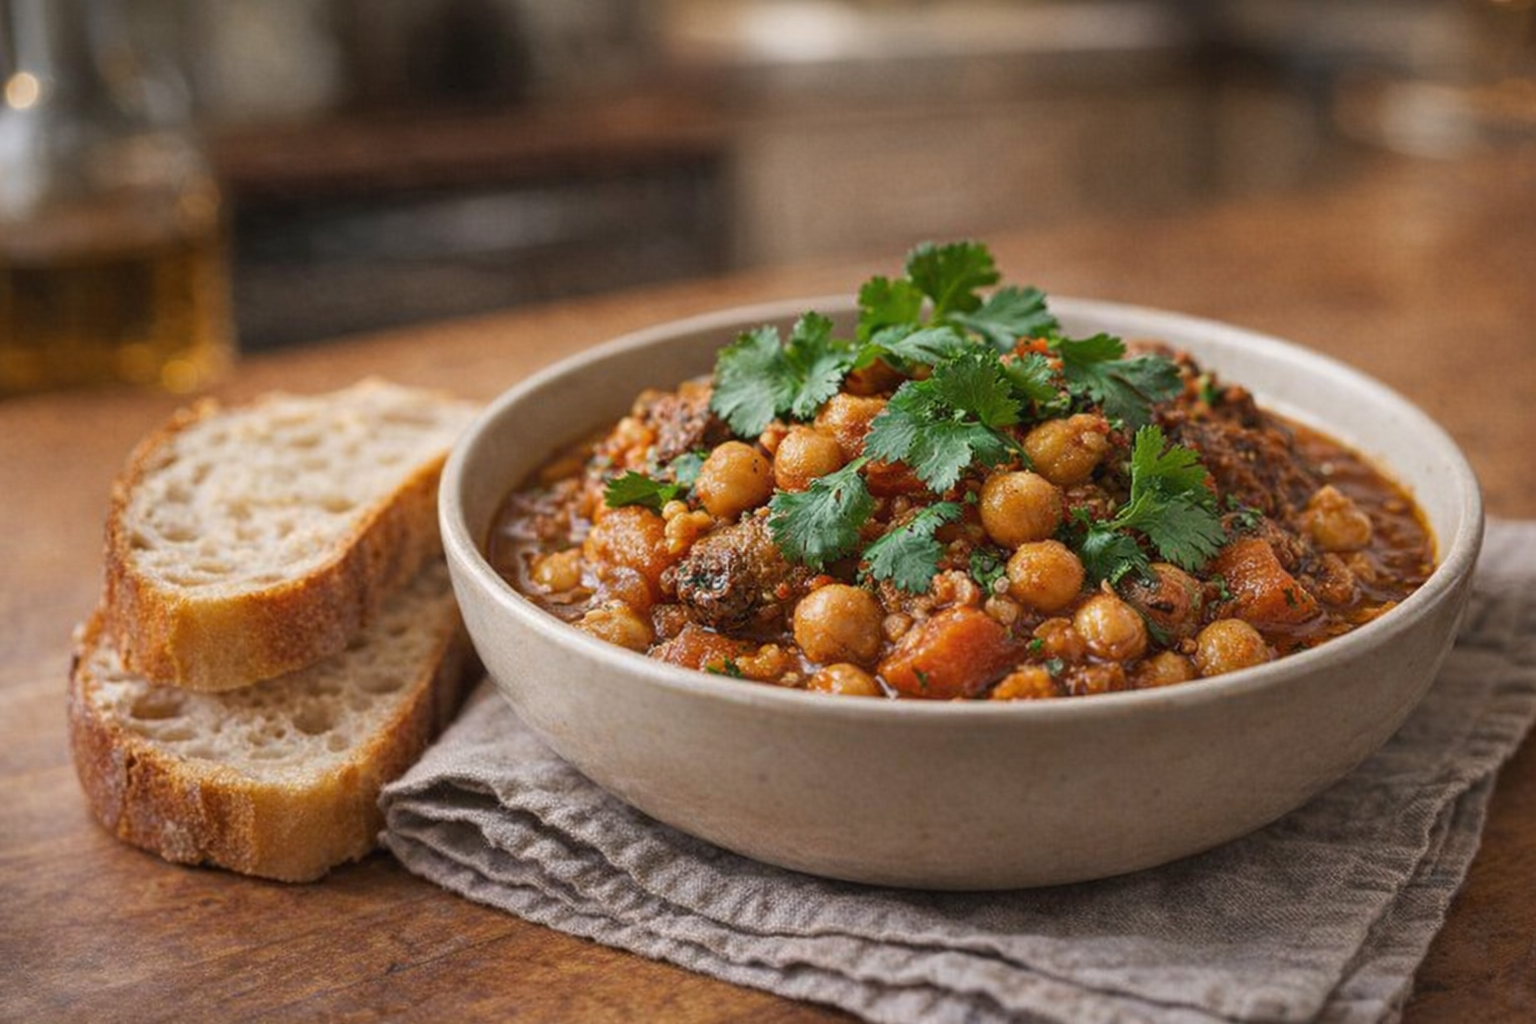
- Curries and Stews: Add cooked chickpeas to your favorite curry or stew for added protein and texture.
💡 Pro Tips
- Soak dried chickpeas in salted water for at least eight hours to ensure even cooking and a creamier internal texture.
- Add a half-teaspoon of baking soda to the boiling water to help break down the skins for an exceptionally smooth hummus.
- For the crispiest roasted chickpeas, ensure they are completely dry and tossed lightly with oil before placing them in a preheated oven.
- Simmer the chickpeas gently rather than using a vigorous boil to keep the skins intact and maintain a consistent texture.
- Season the chickpeas with salt and spices while they are still warm to allow them to better absorb the flavors.
Frequently Asked Questions
Yes, you can use the quick soak method. Bring the chickpeas to a boil, simmer for 2 minutes, then remove from heat and let them stand covered for 1 hour. This method helps to soften them, though overnight soaking generally yields a creamier result.
Allow the cooked chickpeas to cool completely. Then, store them in an airtight container in the refrigerator for up to 3-5 days. You can also freeze cooked chickpeas for longer storage; spread them in a single layer on a baking sheet, freeze, then transfer to a freezer bag.
The soaking water contains oligosaccharides, complex sugars that can cause gas and digestive discomfort in some people. Discarding the water helps to reduce these compounds, making the chickpeas easier to digest. Always rinse the chickpeas thoroughly after soaking, too.
It's generally recommended to avoid adding salt to the cooking water until the chickpeas are almost done. Adding salt too early can toughen the skins and prevent the chickpeas from cooking evenly. Adding salt at the end will still allow you to season them properly.